Having fun working small. As in, postcard size. And yeah, I’ve backed one with paper, wrote a message, and posted it to our son in Denmark. Postage was $1.33, by the way. Course, it’s been two weeks, and he still hasn’t gotten it…or at least, true to form, hasn’t communicated that he has, nor has he been directly in touch at all (hint hint).
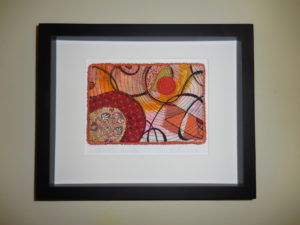
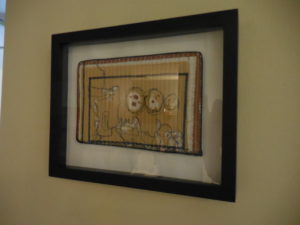
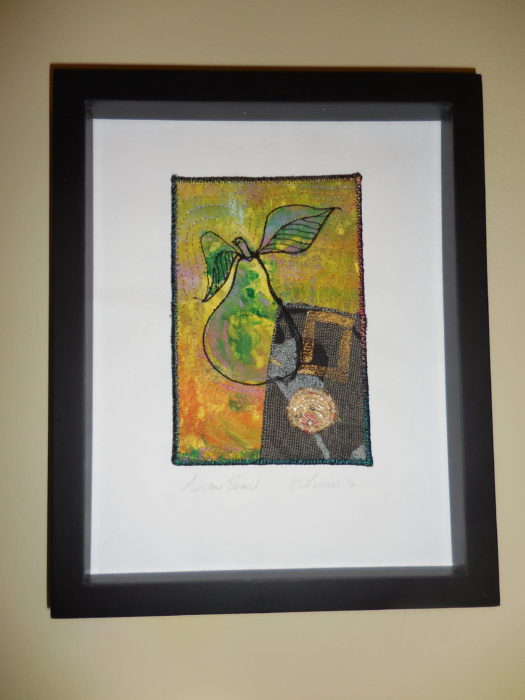
Other postcard-size quilted minis, I’ve set into a shadowbox frame. Amazing how a little postcard is suddenly transformed into a small work of art! How-to’s are easy to understand and cheap—just like me! See them on my website’s Free & Fun link, here.
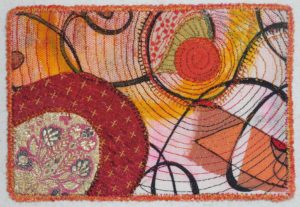
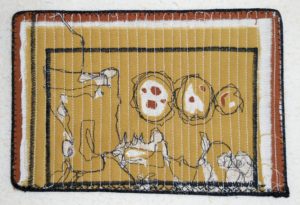
The two that follow are part of a gallery show, Summer Orbits, in a studio above the Da Vinci Art Alliance in Philly: Galactic Donuts, and Life, Mapped Out.
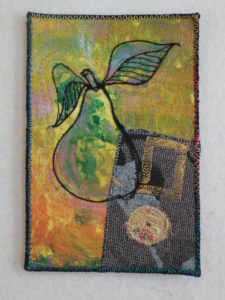
A black and metallic fabric swatch with gingko and character felt Japanese, so I named this piece Asian Pear. It resides alongside many other pears, the subject matter of art I’ve collected by various painters and photographers. It’s the pear as body shape, natch. Just like me!


Really like what you’ve done with small quilts. I have a few that would probably be enhanced by framing. Something to think about–probably in the depths of winter! Sally
Thanks,
Yours look GREAT! Maybe next winter I’ll try mounting some of mine?
If you’ve got a few frames on hand, and some unsuccessful quilt projects you’re willing to cut up, you’ll always have some wonderful gifts at the ready…for about the same amount of time you’d spend shopping, and a whole lot more fun!
IKEA has a 20″ x 20″ frame in black or white that has a built in shadow box of about 1 1/4″. With glass and a Matt and wire for hanging for less than $15. It is simple and very clean lined, so it does not take away from the art. To mount artwork get a stylis from an art supply store, it is a 2 1/2″ needle set in wood in the ceramic tools section. For $2 or less sew your fiber work about every 4″ with a matching thread. Center your artwork on a mattboard. Put a can of tomatoes on it, or two to keep it from moving, poke a small hole through both artwork and Matt from the top, draw threaded needle up from underneath, move Matt to edge of the table and hang side you are working on off table, then put second stitch 1/8″ away from first, bring thread down and knot and you are ready to move to next stitch. Don’t cut thread, just go on back of Matt approximately 4″.
If the artwork is 10″ I would put a stitch in each corner and then if it was flat, I would put one in the middle. If it is wavy I would put two stitches in at approx. 3 1/4″ and 6 3/4″. You can usually stretch uneven quilts and make them squarer with the tip of the needle. This method makes the art remove able without damage, unlike glue. The back of your fingernail on the holes will make them disappear. Taught to me by a textile department restorer from the metropolitan museum, NYC.
Outstanding technique for a work of any size, Lucinda. Thanks for sharing!