

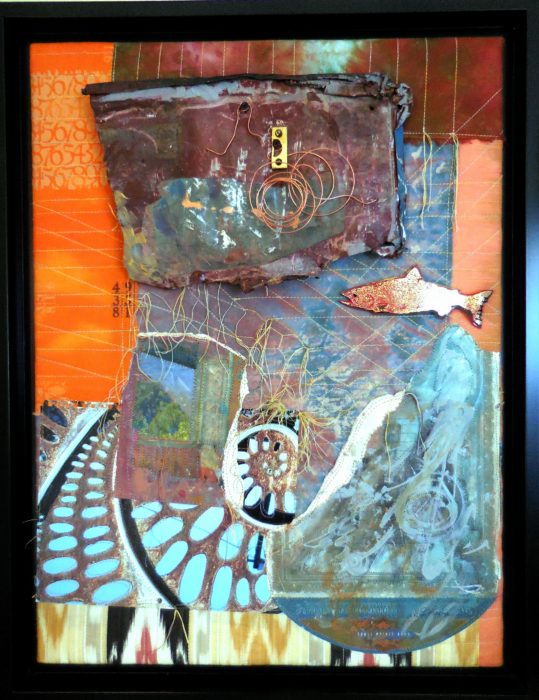
I am a bottom feeder who cannot pass up a slab of rusted metal in the street, the cardboard wrapper for some fancy smoked salmon, texture and patina. I have a box of such hard found pieces. I also have an accordion folder and loose piles of fancy papers, tear sheets, beautiful calendar pages…thank you, Sammie Moshenberg! Thank you, Barbara Adler for that glittery packaging from smoked salmon! From the time I was a girl, I collected my father’s lithography samples from when he worked for a printing company.
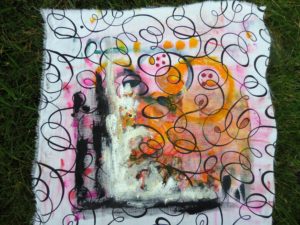
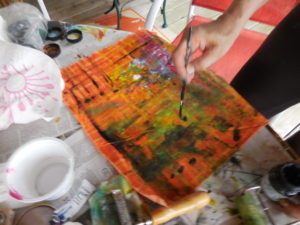
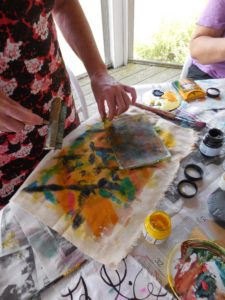
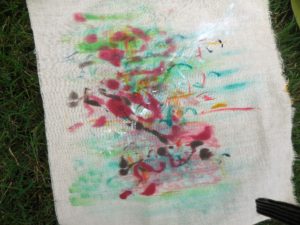
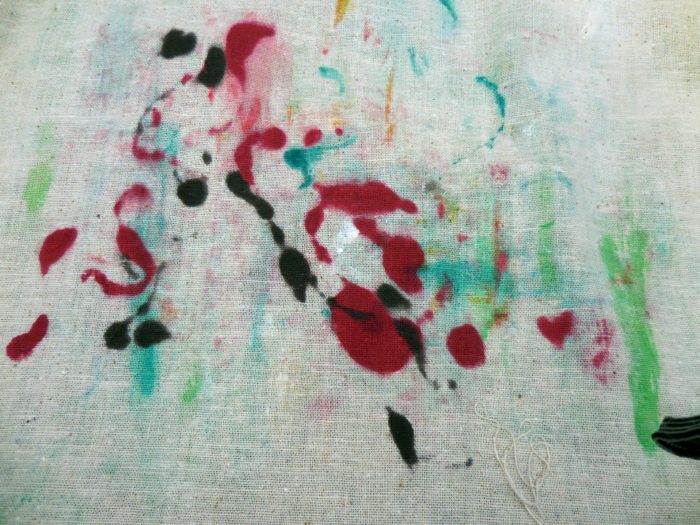
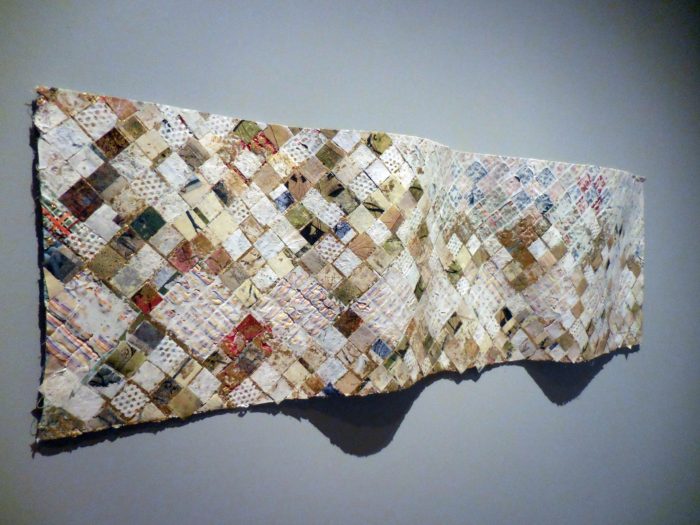
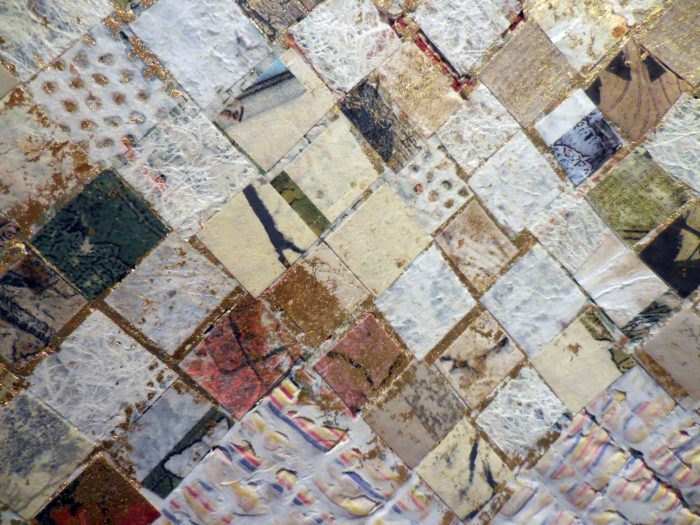
The obvious thing to my mind is to combine papers and metals into a collage. But I challenged myself to make unrelated materials play together. One way to do that was to use color—salmon and it’s color complement, light blue—as a way to breed the hard with the soft. Some of the papers had been given a wash of paint, obliterating a clutter of text and integrating them into a cohesive grouping.
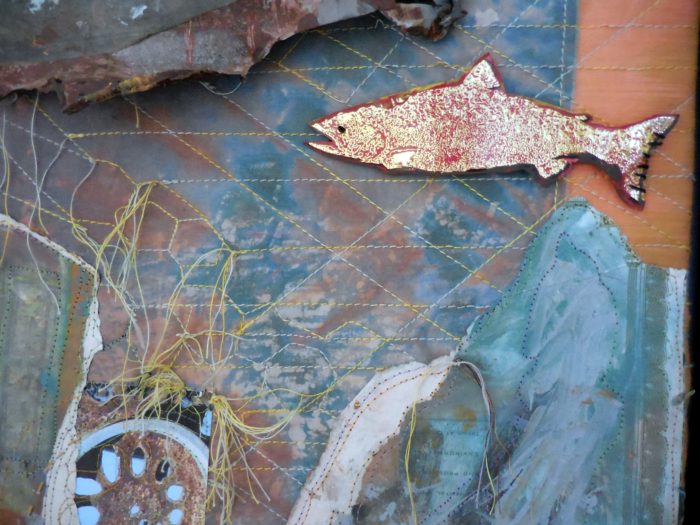
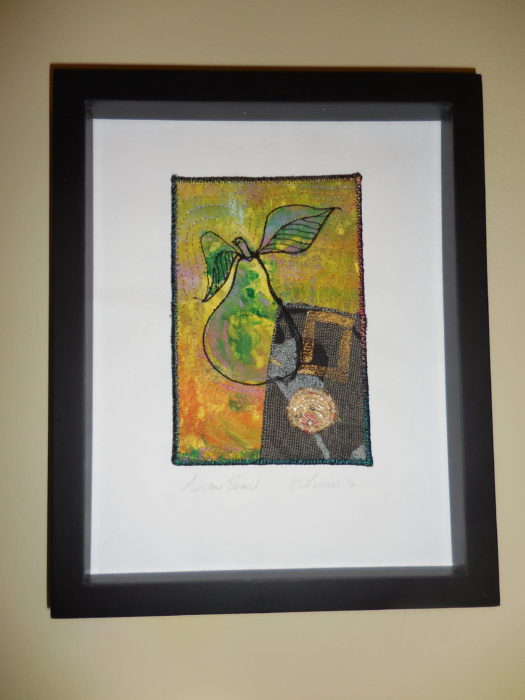
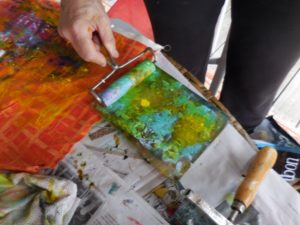
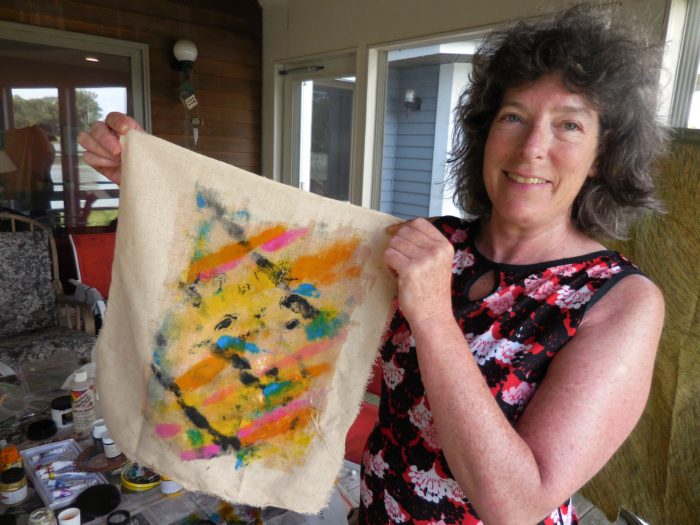
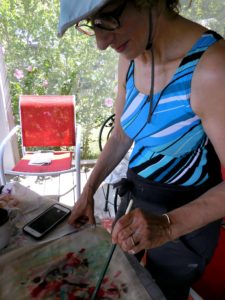
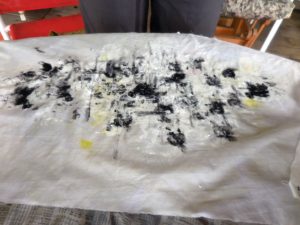
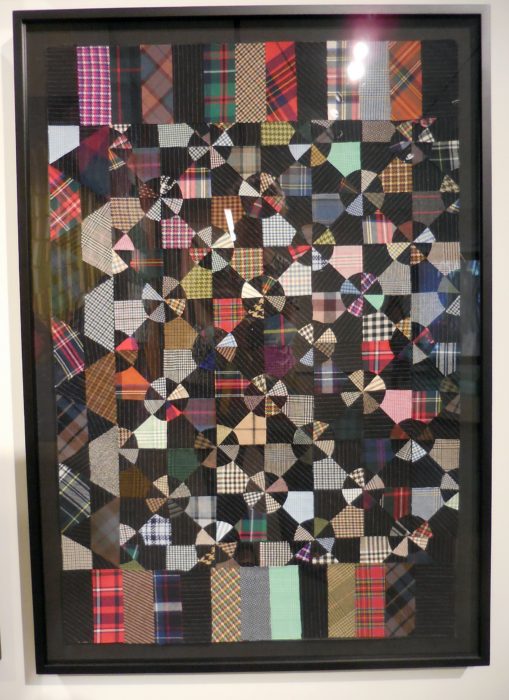
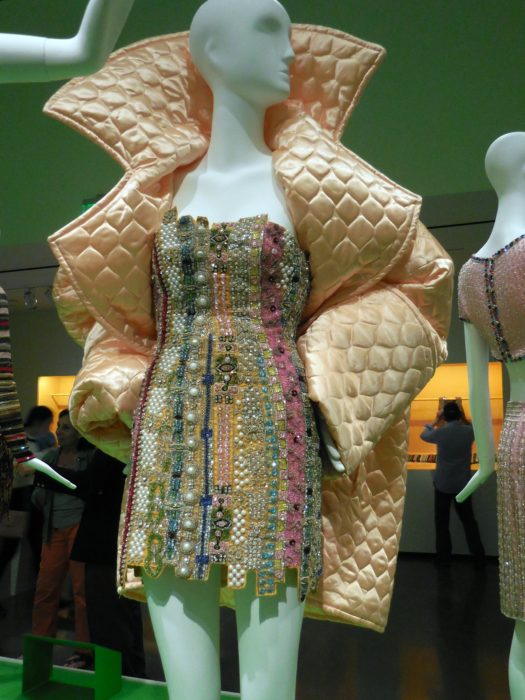
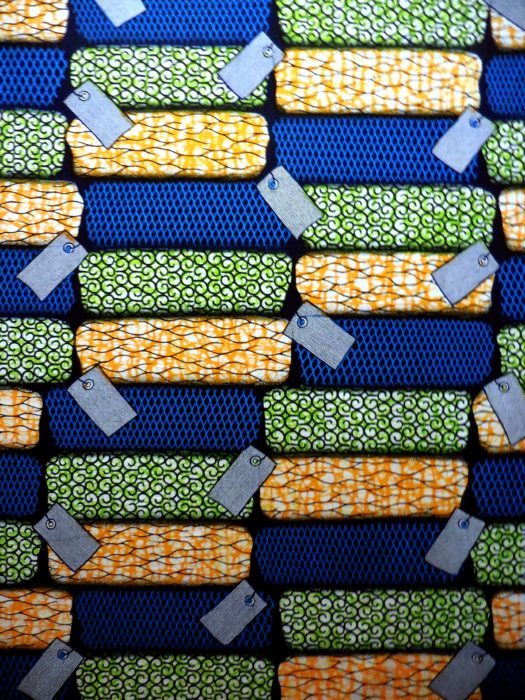
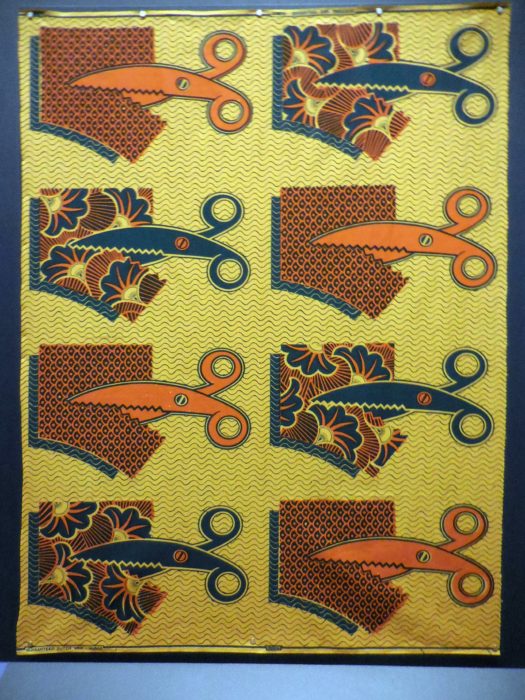
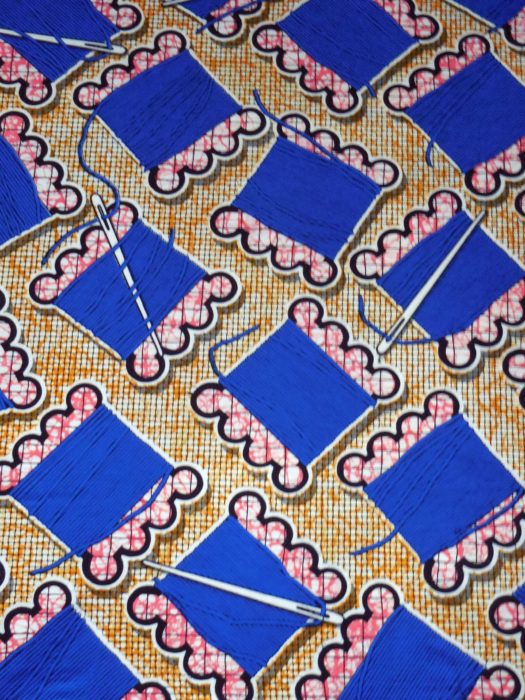
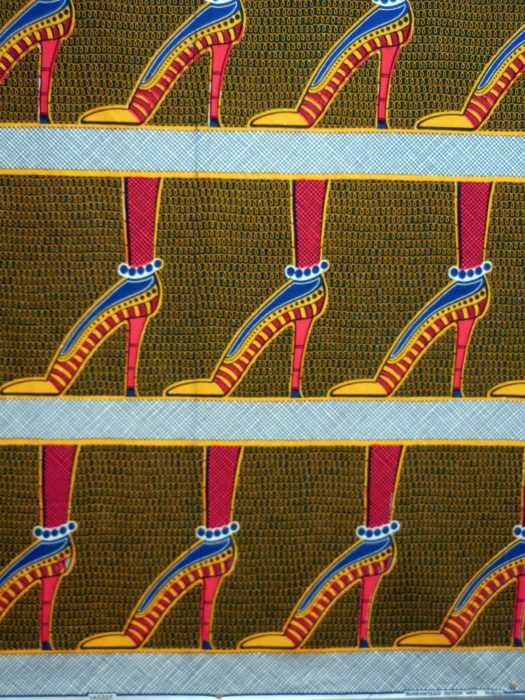
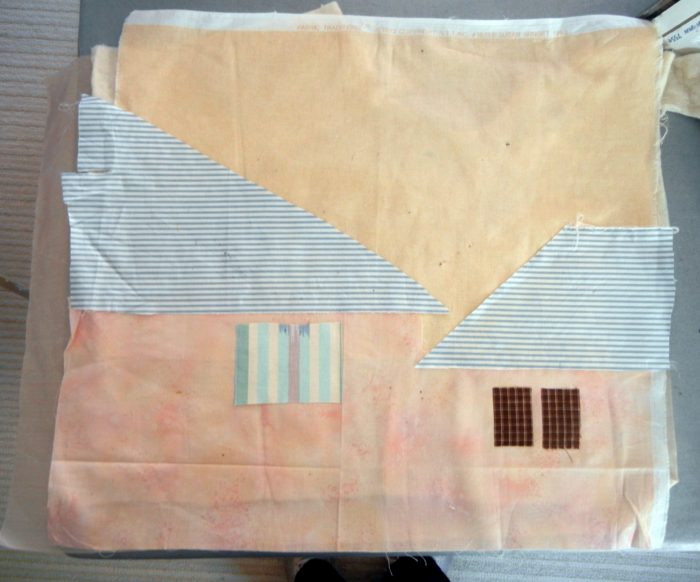
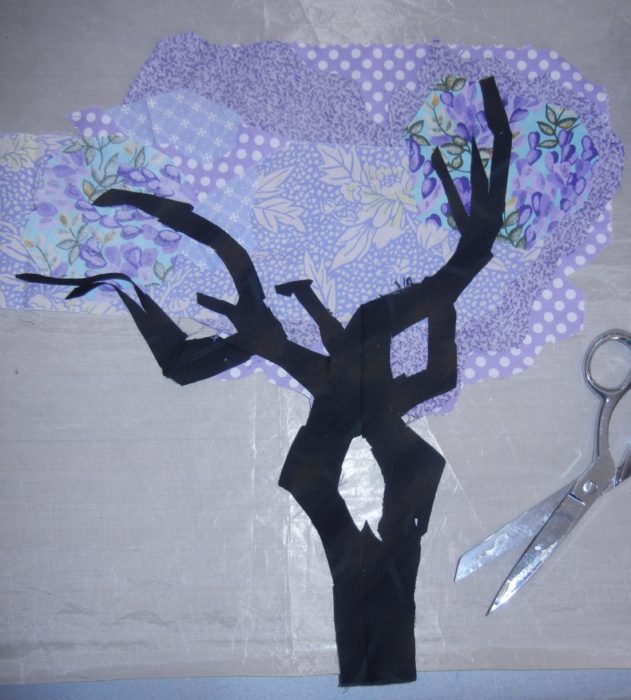
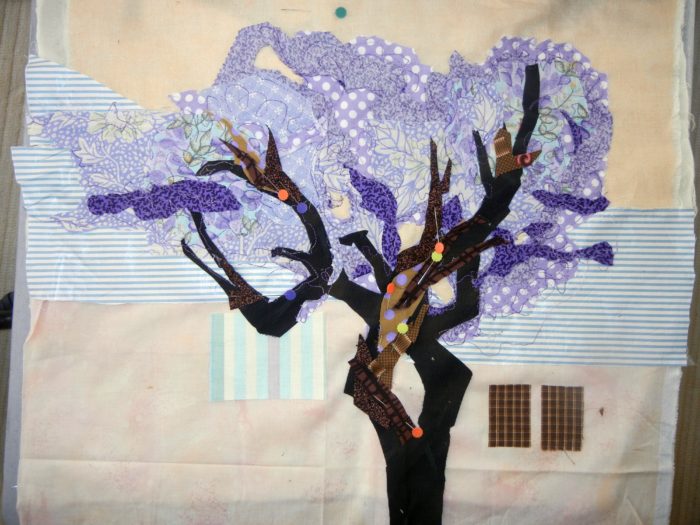
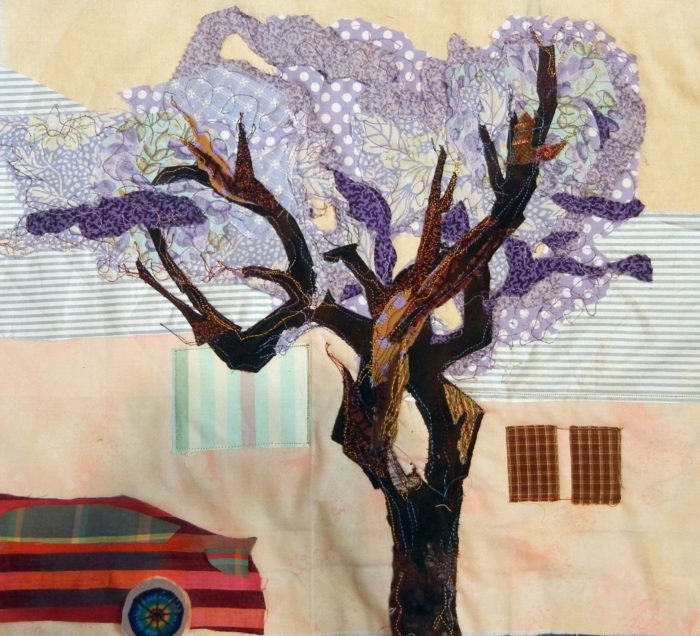
I thought the rusted metal held secrets, and history, and I looked to fabrics with not just color coordination but also unfathomable text and visual texture, to continue that narrative of mystery. Thank you, Lonni Rossi! I quilted them to provide a more stable background, and connected by stitch the ephemera, the old and new papers, with the cotton fabrics. Unsure of where I was going, I arranged and rearranged the composition, and when I thought I was close, I still had challenges of mounting the disparate pieces for durability of display, deciding to pull it over stretcher strips, screw spacer strips to support and elevate the metal piece, and camouflaging the screws with spirals of copper wire.
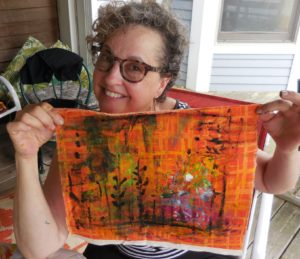
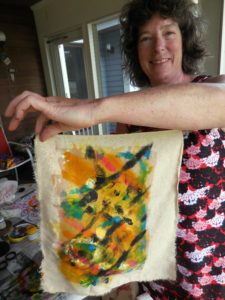
I was definitely swimming upstream, my title for the piece…. like the salmon, expecting only to get screwed by the all difficulties, and die in the end, that is, to have this project end up in the trash.
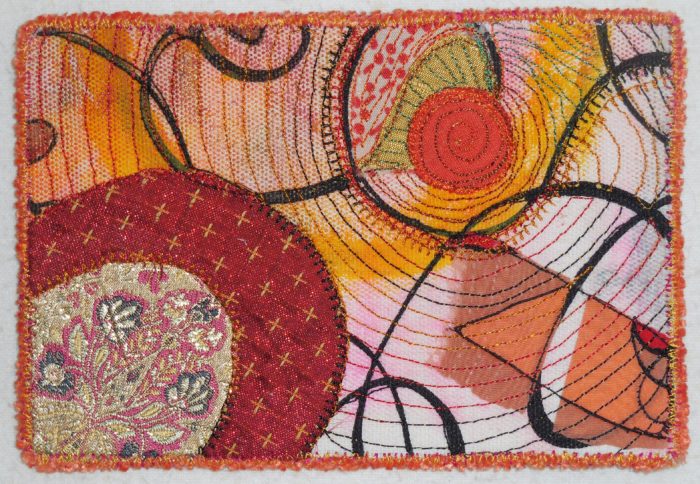
But on the other hand, I wasn’t floundering. The work had a nice flow to it, and I never felt I was fighting the current. Maybe that’s because my art quilting has not followed a single direction, despite my deep respect for artists who work in a series. I’m not a serious artist, and I can’t take my work or myself all that seriously. But I have to say, finding connections of line, and a balance of shapes is a very satisfying exercise for me. Perhaps, after all, this mixed media piece may not be a one-off; I just may return to the river where hard and soft textures and disparate elements combine. I’m not fishing for compliments, but I sure welcome feedback!

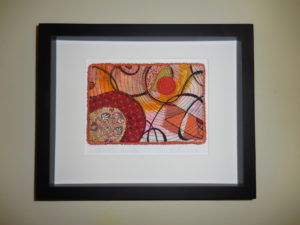


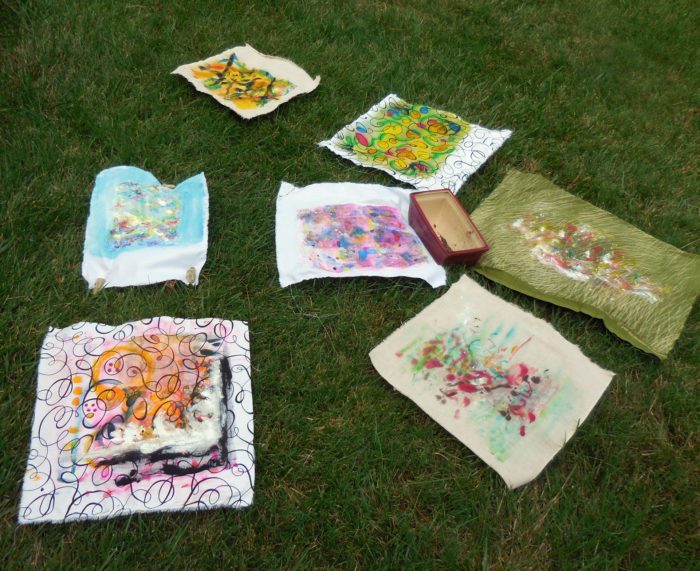


Really like what you’ve done with small quilts. I have a few that would probably be enhanced by framing. Something to think about–probably in the depths of winter! Sally
Thanks,
Yours look GREAT! Maybe next winter I’ll try mounting some of mine?
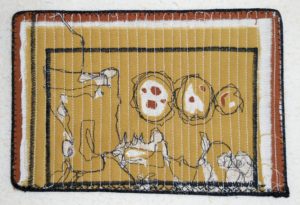
If you’ve got a few frames on hand, and some unsuccessful quilt projects you’re willing to cut up, you’ll always have some wonderful gifts at the ready…for about the same amount of time you’d spend shopping, and a whole lot more fun!
IKEA has a 20″ x 20″ frame in black or white that has a built in shadow box of about 1 1/4″. With glass and a Matt and wire for hanging for less than $15. It is simple and very clean lined, so it does not take away from the art. To mount artwork get a stylis from an art supply store, it is a 2 1/2″ needle set in wood in the ceramic tools section. For $2 or less sew your fiber work about every 4″ with a matching thread. Center your artwork on a mattboard. Put a can of tomatoes on it, or two to keep it from moving, poke a small hole through both artwork and Matt from the top, draw threaded needle up from underneath, move Matt to edge of the table and hang side you are working on off table, then put second stitch 1/8″ away from first, bring thread down and knot and you are ready to move to next stitch. Don’t cut thread, just go on back of Matt approximately 4″.
If the artwork is 10″ I would put a stitch in each corner and then if it was flat, I would put one in the middle. If it is wavy I would put two stitches in at approx. 3 1/4″ and 6 3/4″. You can usually stretch uneven quilts and make them squarer with the tip of the needle. This method makes the art remove able without damage, unlike glue. The back of your fingernail on the holes will make them disappear. Taught to me by a textile department restorer from the metropolitan museum, NYC.
Outstanding technique for a work of any size, Lucinda. Thanks for sharing!